MotionEyeOS is perfect for using your Pi as a CCTV camera. Want to detect movements while you’re out? Then read on…
One benefit of MotionEyeOS is its ability to detect motion and capture images and movies of what triggered it. You can also access a live stream of your camera online, even when you’re not home, which is handy if you want to check in every now and then. When away from home, being notified of any movement is very useful, and MotionEyeOS has a nifty option for custom notifications.
The full article can be found in The MagPi 43 and was written by Wesley Archer
This guide will assume you have already set up and configured MotionEyeOS. A Pushover licence is required, which costs £3.99/$4.99. For help, check out the MotionEyeOS wiki.
You’ll need
MotionEyeOS
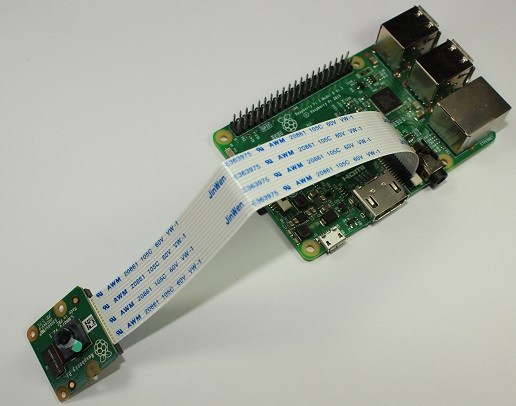
Raspberry Pi
Pushover app for iOS or Android with full licence (£3.99/$4.99)
STEP-01 Create an application in Pushover
Pushover has a great, easy to use API. Before we start, we need to register an application with it. Click on Register Application under the Your Applications heading on the Pushover website (pushover.net). Give your app a name – something like RaspiMotion – and then make sure the type is Application. Give your app a quick description (e.g. ‘Push notifications sent by my Raspberry Pi’) and, if feeling creative, upload a custom icon which will show in your Pushover client app whenever a notification is sent.
STEP-02 Get your API token and user key
Once you have created your application, you should have access to an API token/key. This is a unique combination of numbers and letters – please keep this a secret! You’ll also need your user key, which is shown once you log into Pushover’s website. Okay, so you have an app and your API and user keys. You’ll now need to download (or recreate if you so wish) a simple Python script to tell your Raspberry Pi to work its magic once the script is called upon by MotionEyeOS.
STEP-03 Create your Python script
MotionEyeOS is not like Raspbian. You cannot use certain commands as you would normally, such as git clone, so we’ll have to create our Python script manually; you can also drag and drop using WinSCP if preferred. We also don’t need to use sudo, as we’re already logged in as root by default. Our script needs to live in the data folder, so let’s go there and create pushover.py using nano: cd /data nano pushover.py
| cd /data nano pushover.py |
Once here, you’ll need to copy and paste or type in the code listing, while also including your API token and user key where required.
import httplib, urllib
conn = httplib.HTTPSConnection(“api.pushover.net:443”)
conn.request(“POST”, “/1/messages.json”,
urllib.urlencode({
“token”: “APP_TOKEN”, # Insert app token here
“user”: “USER_TOKEN”, # Insert user token here
“html”: “1”, # 1 for HTML, 0 to disable
“title”: “Motion Detected!”, # Title of the message
“message”: “Front Door camera!”, # Content of the message
“url”: “http://IP.ADD.RE.SS”, # Link to be included in message
“url_title”: “View live stream”, # Text for the link
“sound”: “siren”, # Define the sound played
}), { “Content-type”: “application/x-www-form-urlencoded” })
conn.getresponse()
STEP-04 Make your script executable
As with any script, we need to make sure it can be executed, otherwise it’s nothing more than a fancy collection of text! You can do this either from the command line or from within WinSCP. From the command line, make sure you’re in the data folder and then type: chmod +x pushover.py
| chmod +x pushover.py |
Or, if using WinSCP, select the pushover.py file in the data folder, then press F9. In the window that appears, change the permissions to 0755 and then click ‘OK’ to confirm.
STEP-05 Configure MotionEyeOS to use your script
Now that we have our script, we need to tell MotionEyeOS to use it when it detects motion. To do this, log in, go to the Motion Notifications menu and turn on the ‘Run A Command’ option. You then need to specify which command to run, which will be the Python script you just created – this is /data/pushover.py. Click Apply once done, to confirm the changes.
STEP-06 Test it out!
Hopefully, by now you have created your Python script, made it executable, told MotionEyeOS to use your script when it detects motion, and have the Pushover app installed on your smartphone or tablet. We now need to test that it works! Wave your hand in front of your camera (or you can do a dance if you’re feeling energetic!) and then shortly afterwards you should receive a notification via Pushover, warning you that motion has been detected!
Feel free to experiment with the script to customise the message displayed and sound played in Pushover.